In this guide, we’ll walk you through essential tools, timing considerations, and safety tips to make your window film removal guide project a success. By the end of this article, you’ll be well-prepared to tackle the task confidently, ensuring that your windows are ready for a new look or improved functionality.
Before diving into the tools and techniques, it’s important to understand why and when window film removal becomes necessary. Over time, window films can degrade due to prolonged exposure to sunlight, leading to discoloration, bubbling, or peeling. These signs indicate that it’s time to replace the film to maintain both the aesthetic and functional benefits of your windows. Additionally, as films age, they may also become less effective in blocking UV rays, which can lead to increased energy costs and potential damage to interior furnishings. According to the U.S. Environmental Protection Agency (EPA), improving window performance plays a role in overall energy efficiency strategies for homes and commercial buildings.
Common Reasons to Remove Window Film
- Aesthetic Updates: Interior design trends change, and so may your preference for window tint styles and colors. Keeping up with the latest styles can significantly enhance the look of a room, making it feel more modern and inviting. Also, changing films can allow for a better match with new furniture or paint colors, ensuring a cohesive design.
- Film Degradation: Exposure to UV rays can cause the film to deteriorate, reducing its effectiveness and appearance. Over time, this can lead to a film that not only looks unattractive but also fails to provide the benefits it once did, such as privacy or UV protection. It’s essential to monitor the condition of your window films and plan for replacements to maintain their benefits.
- Performance Issues: Old or damaged films may not provide the energy efficiency or privacy that they once did. As the film’s performance declines, you may notice increased glare, reduced privacy, or higher energy bills due to less effective insulation. Recognizing these signs early can help you address them before they become more significant problems.
By recognizing these signs early, you can plan for a timely replacement that aligns with your design goals and energy efficiency standards. This proactive approach ensures that your windows remain both functional and stylish, contributing positively to your home’s overall ambiance. The U.S. Department of Energy also highlights how proper window management contributes to long-term energy savings.
Essential Tools for Window Film Removal
Removing window film requires specific tools to ensure a clean and efficient job. Here’s what you’ll need to make the process as seamless as possible:
Tint Removal Kit
A tint removal kit is your go-to solution for a hassle-free experience. These kits typically include:
- Utility Knife: For cutting and peeling off the film. A sharp blade is essential for clean cuts, preventing any tears that could complicate removal.
- Spray Bottle: To apply soapy water or a window cleaner that helps loosen the adhesive. This step is crucial in ensuring that the film peels away without leaving residue.
- Squeegee: To smooth out and remove film and adhesive residue. A quality squeegee can help achieve a streak-free finish, making the final cleaning process easier.
- Scraper Blade: For scraping off stubborn adhesive. It’s important to use a scraper designed for glass to prevent scratches.
Additional Window Tint Tools
While a tint removal kit covers the basics, consider having these extra tools on hand for an even smoother experience:
- Heat Gun or Hair Dryer: Applying heat can soften the adhesive, making it easier to peel off the film. The gentle heat ensures that the adhesive remains pliable, reducing the risk of tearing the film.
- Microfiber Cloth: Useful for cleaning the window surface post-removal. Microfiber is ideal for catching dust and grime without scratching the glass surface, ensuring a pristine finish.
Protective Gear
Safety should always be a priority. Equip yourself with:
- Gloves: Protect your hands from cuts and cleaning solutions. Durable gloves can also provide better grip when handling tools and film.
- Safety Glasses: Shield your eyes from stray pieces and cleaning chemicals. Ensuring eye protection is crucial, as even small film particles or splashes of cleaning solution can cause irritation.
Timing Your Window Film Removal
Timing can significantly affect the ease and outcome of your window film removal project. Proper timing ensures that you make the most of environmental conditions, which can aid in the removal process.
Weather Conditions
Removing window film is best done on a sunny day. The heat from the sun can naturally soften the adhesive, making the removal process smoother. The sun’s warmth can also help evaporate any moisture that might interfere with the adhesive’s loosening. Avoid rainy or excessively cold days as moisture and cold can complicate the task, causing the adhesive to harden or become more difficult to manage.
Time of Day
Plan your removal for late morning or early afternoon when temperatures are warmer. This timing ensures that the sun has had time to heat the film and window surface. The natural warmth will complement the tools you’re using, making the entire process more efficient. Additionally, working during daylight hours provides better visibility, reducing the risk of leaving adhesive behind.
Project Duration
Allocate enough time for the task. Depending on the size and number of windows, the process can take a few hours. Rushing can lead to incomplete removal or damage to the window surface. It’s advisable to set aside more time than you think you’ll need, allowing for any unexpected challenges that may arise.
Step-by-Step Window Film Removal Process
Here’s a straightforward guide to removing window film. Following these steps will help ensure a successful and hassle-free removal:
Step 1: Prepare the Area
Clear the window area of any furniture or decor items. Lay down a drop cloth to catch debris and make cleanup easier. Preparing the area in advance also prevents any accidental damage to your belongings, keeping your workspace organized and efficient.
Step 2: Loosen the Film
Spray the window film with a generous amount of soapy water or window cleaner. Allow it to soak for a few minutes to loosen the adhesive. This step is crucial as it reduces the risk of tearing the film during removal, ensuring a smoother peel-off process.
Step 3: Apply Heat
Use a heat gun or hair dryer to warm the film, starting at a corner. This will further soften the adhesive and make peeling easier. Applying consistent heat helps prevent the film from becoming brittle, reducing the chances of it breaking into smaller pieces.
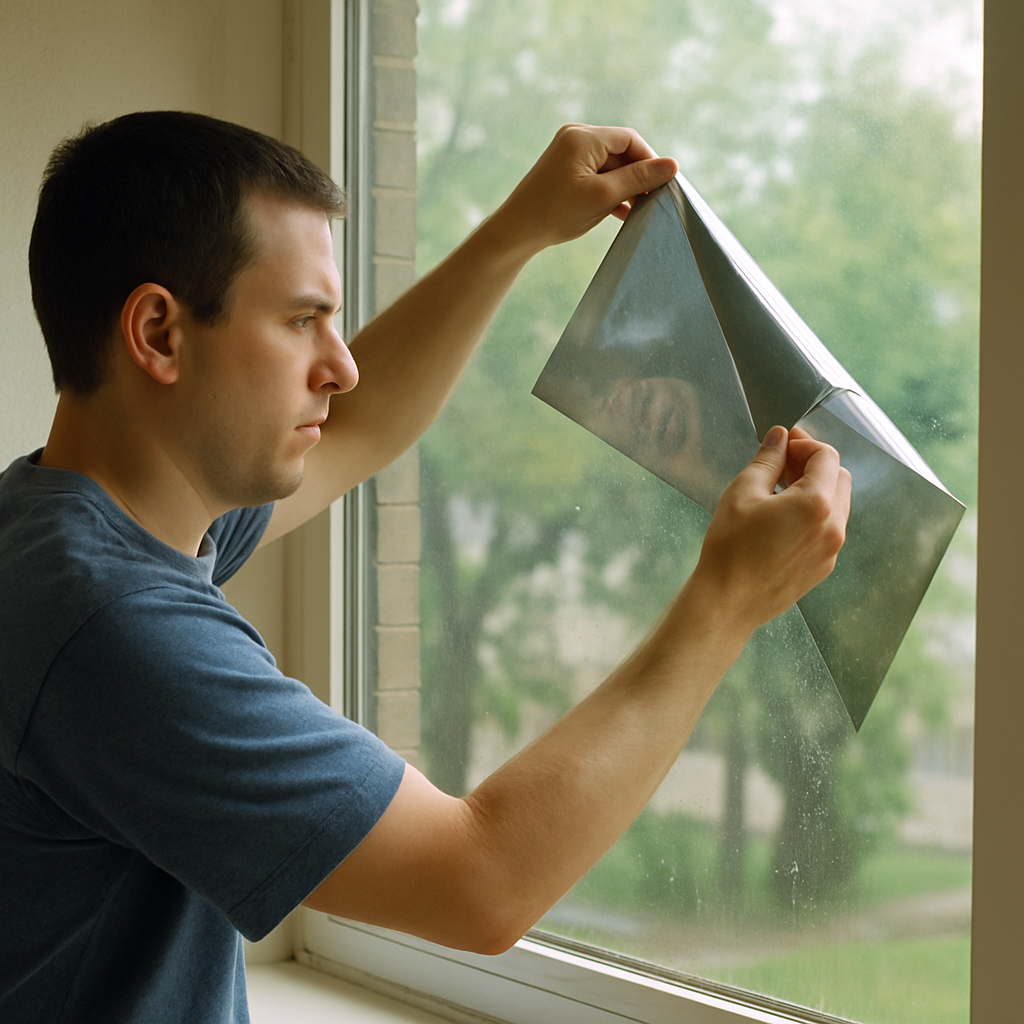
Step 4: Peel the Film
Carefully use a utility knife to lift a corner of the film. Slowly peel it away from the glass, applying more heat as needed. Taking your time with this step ensures that you remove the film in large sections, minimizing leftover adhesive.
Step 5: Remove Residual Adhesive
Use a scraper blade to remove any remaining adhesive. Keep the surface wet with soapy water to prevent scratches. Working carefully and methodically will ensure that you don’t damage the glass during this step.
Step 6: Clean the Glass
Once the film and adhesive are removed, clean the glass thoroughly with a microfiber cloth and window cleaner to ensure a spotless finish. This final step not only enhances the appearance of your windows but also prepares them for any new films you may wish to apply.
Safety Tips for Removing Window Film

by K Adams (https://unsplash.com/@kadams77)
- Work in a Well-Ventilated Area: Ensure proper ventilation to avoid inhaling fumes from cleaning solutions or adhesive residue. Adequate airflow can also help in quickly dissipating any odors associated with the cleaning agents used.
- Use Caution with Blades: Always cut away from your body and keep fingers clear of the blade path. Ensuring safe handling of sharp tools prevents accidents and injuries.
- Handle Heat with Care: Be cautious when using a heat gun to avoid burns. Keep it moving to prevent overheating any area. Proper handling of heat tools not only protects you but also prevents damage to the window glass.
- Dispose of Waste Responsibly: Collect film and adhesive waste and dispose of them according to local regulations. Responsible disposal protects the environment and ensures compliance with waste management laws.
Conclusion
Removing window film doesn’t have to be a challenging task. With the right tools, timing, and safety measures, you can efficiently update your windows, enhancing both the appearance and functionality of your space. A well-executed removal process paves the way for new installations that meet your design and efficiency needs.
For interior designers, understanding the removal process helps in providing clients with fresh, energy-efficient, and stylish window solutions that complement their overall design vision. By following this guide, you can ensure a smooth, safe, and successful window film removal experience, paving the way for new installations that meet your design and efficiency needs. Embrace the opportunity to refresh your space, confident in the knowledge that your efforts will result in a stylish and functional window solution.