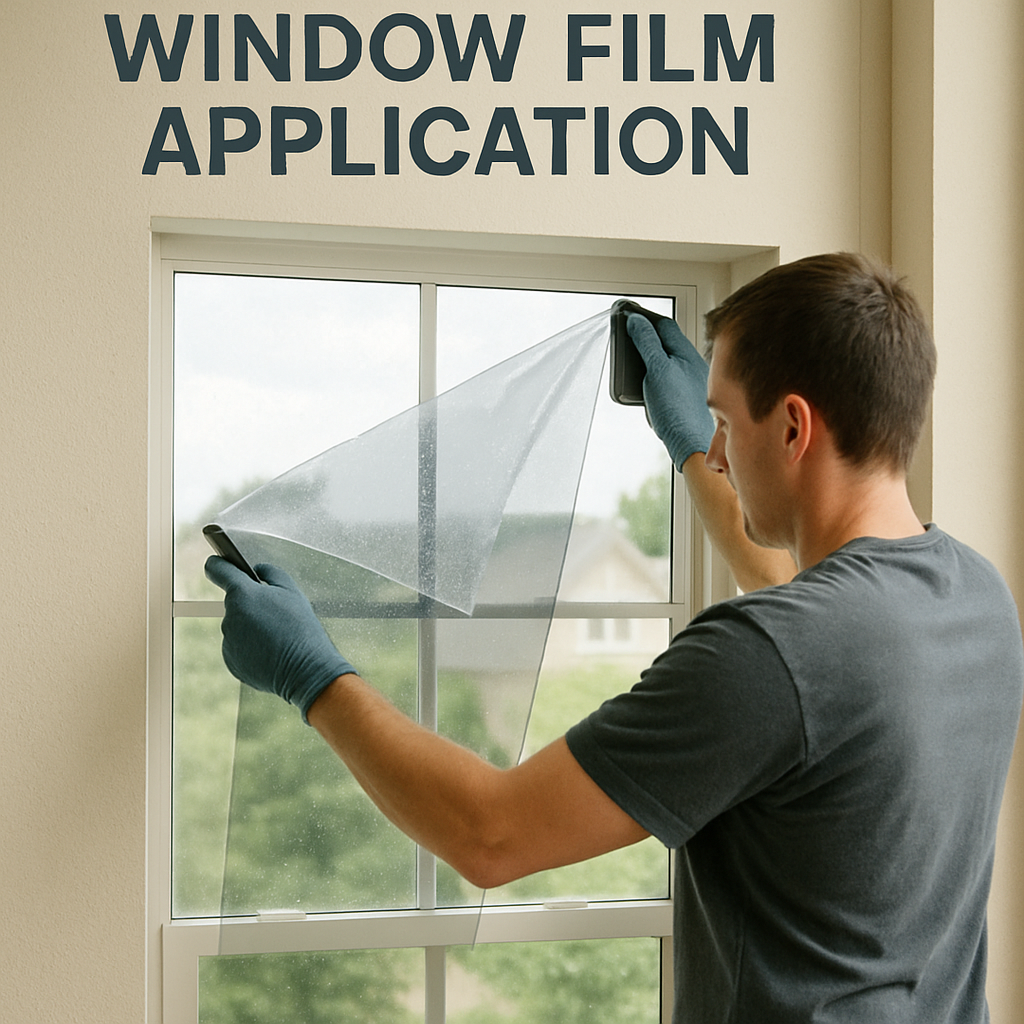
When pondering ways to enhance your home’s comfort, efficiency, and style, residential window film might not be the first solution that springs to mind. However, window film installation offers a myriad of benefits that can transform your living space in surprising ways. Whether it’s for energy savings, privacy, or UV protection, understanding when and why to consider window film installation can help you make an informed decision.
Window film is more than just a tint; it’s a versatile solution for various challenges homeowners face. Let’s explore some of the key benefits:
Energy Efficiency
One of the most compelling reasons to install window film is to improve energy efficiency. By reducing heat gain in the summer and heat loss in the winter, window film can help maintain a consistent indoor temperature. This means less reliance on heating and cooling systems, which can lead to substantial savings on your energy bills.
UV Protection
UV rays can cause significant damage to your home’s interior, fading furniture, flooring, and artwork. Window film blocks up to 99% of harmful UV rays, preserving your belongings and extending their lifespan. This protection is essential for maintaining the aesthetic appeal of your home.
Enhanced Privacy and Security
Window film offers an additional layer of privacy without sacrificing natural light. It prevents prying eyes from peering into your home, making it an excellent choice for ground-level windows or areas where you desire more seclusion. Moreover, certain films are designed to hold glass shards together in the event of breakage, adding an extra level of security.
Glare Reduction
Natural light is wonderful, but excessive glare can be a nuisance, especially when trying to work on a computer or watch television. Window film reduces glare, making your home environment more comfortable and functional.
Aesthetic Appeal
Window film comes in a variety of styles and finishes, allowing you to customize the look of your windows. Whether you prefer a sleek, modern appearance or a more traditional look, there’s a window film option to suit your taste.
When to Consider Window Film Installation
Knowing when to opt for window film installation near you can maximize its benefits. Here are some scenarios where window film might be the perfect solution:
High Energy Bills
If you’ve noticed your energy bills creeping up, window film could be a cost-effective way to reduce them. By improving your home’s insulation, window film helps your HVAC system work more efficiently, lowering your monthly expenses.
Fading Interiors
Are you tired of seeing your vibrant furniture, rugs, and artwork losing their luster? UV protection from window film can prevent fading, preserving the beauty and value of your home’s interior.
Privacy Concerns
Whether you live on a busy street or have neighbors close by, privacy can be a significant concern. Window film provides the privacy you need while still allowing natural light to brighten your home.
Uncomfortable Glare
If you’re frequently battling glare on screens or struggling to find a comfortable spot to read, window film can help. It reduces glare, making your home a more enjoyable place to live and work.
Home Renovations or Redecorating
During a home renovation or redecorating project, consider how window film can complement your design. With various styles available, you can enhance your home’s aesthetics while reaping additional benefits like energy savings and UV protection.
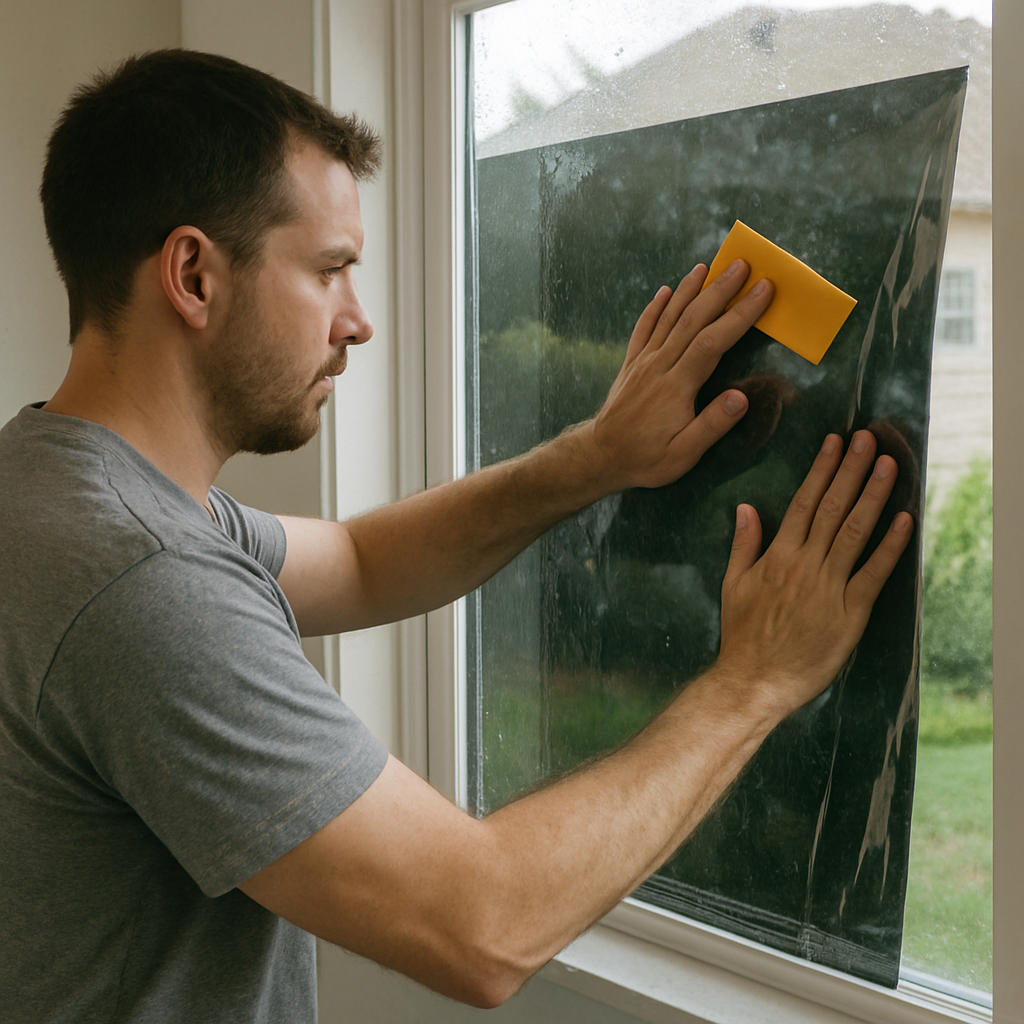
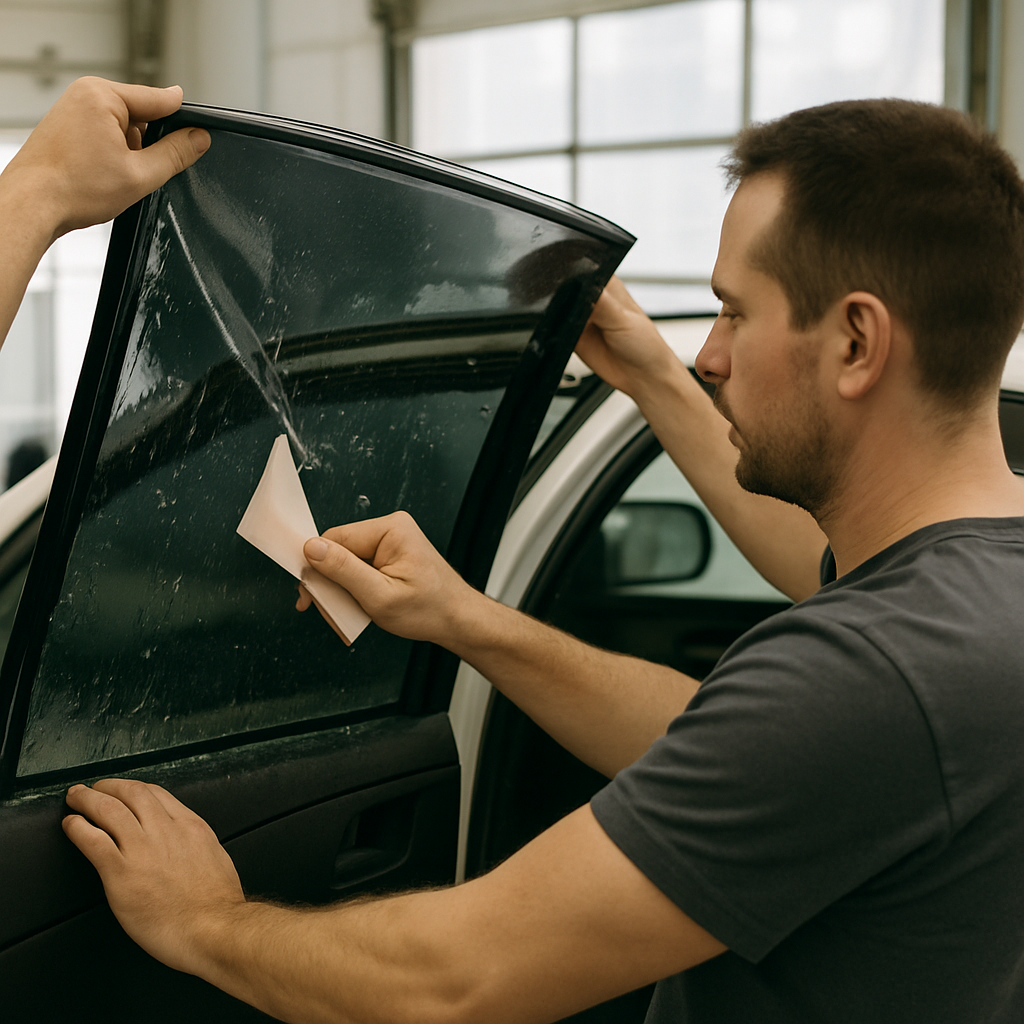
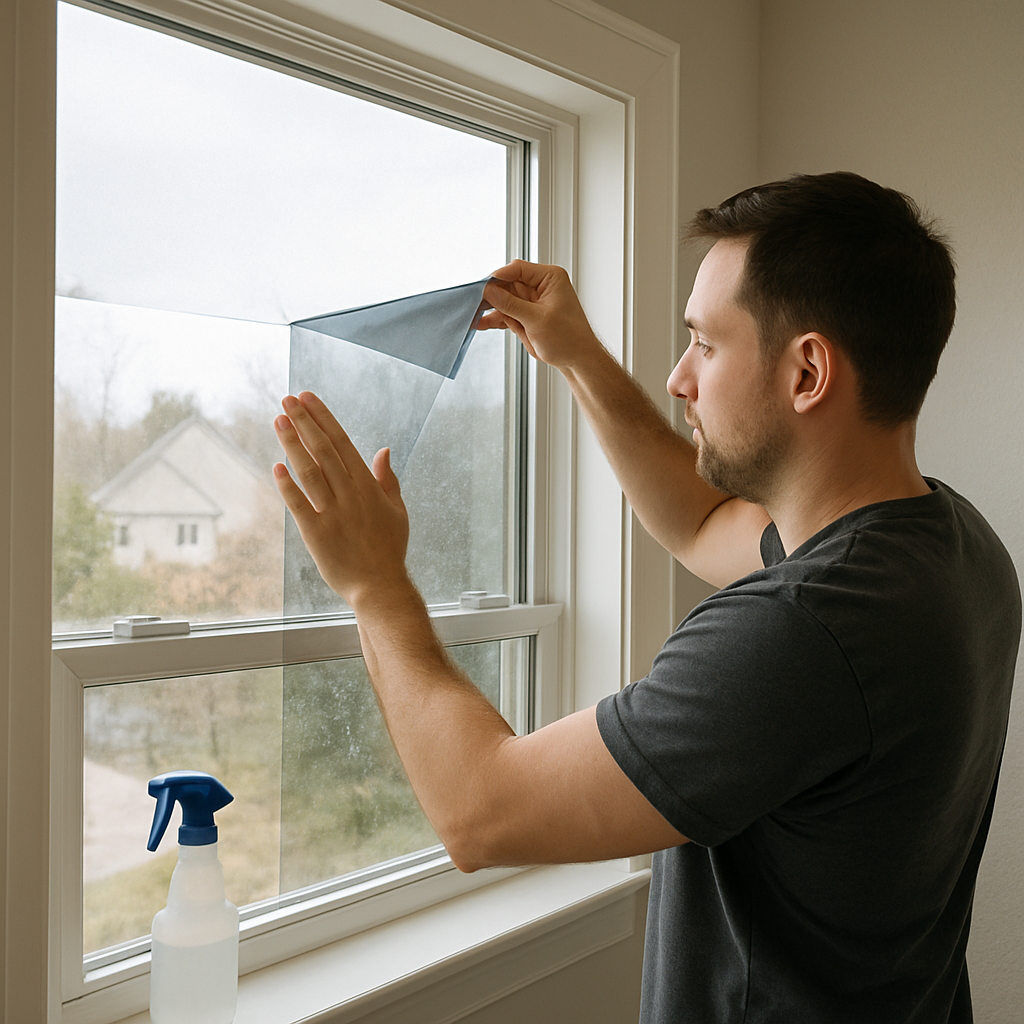
Types of Window Film

by Thanos Pal (https://unsplash.com/@thanospal)
Choosing the right type of window film is crucial to achieving the desired results. Here are some popular options:
Solar Control Film
Solar control film is designed to reduce heat gain and glare while providing UV protection. It’s ideal for homeowners looking to improve energy efficiency and comfort without sacrificing natural light.
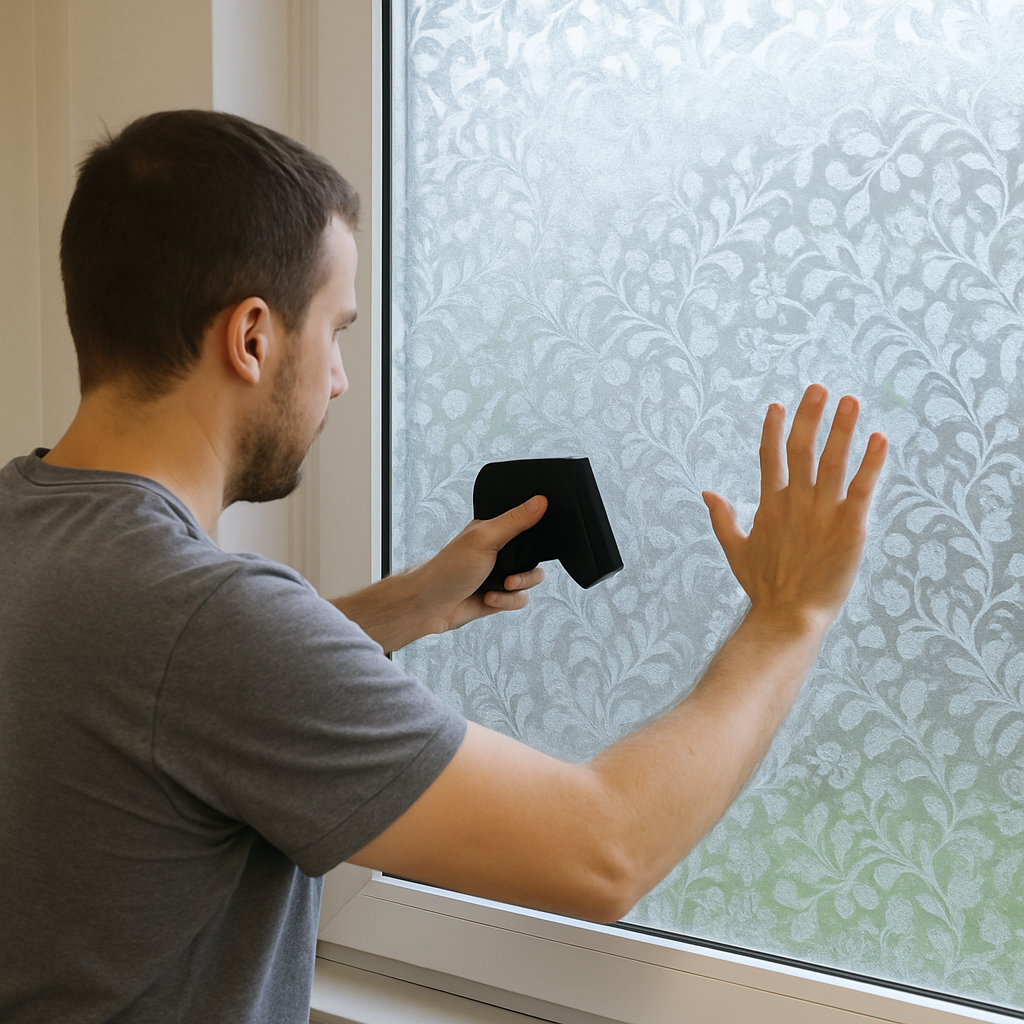
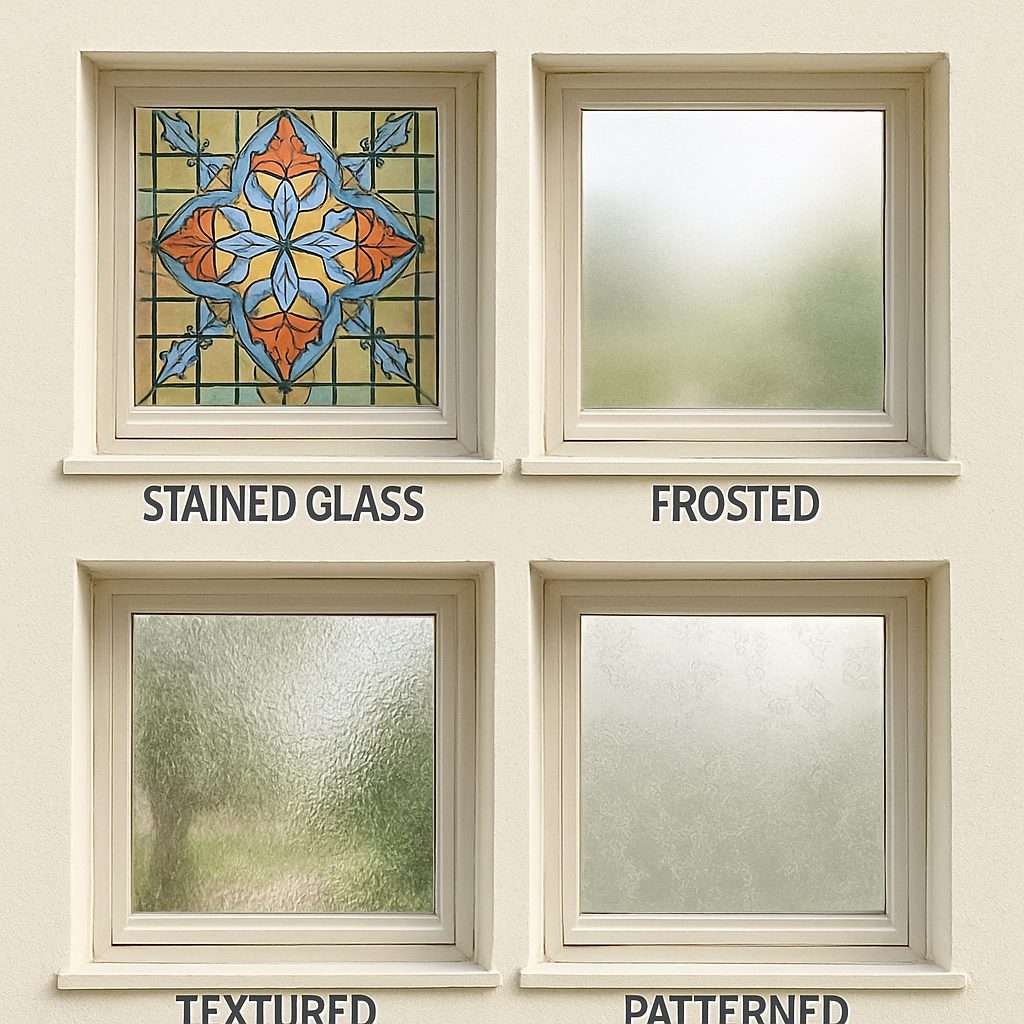
Decorative Film
Decorative film offers a wide range of patterns and designs, allowing you to customize your windows to match your interior style. It’s perfect for adding a touch of elegance or privacy to any room.
Security Film
Security film is thicker and designed to hold glass together in the event of breakage. It provides an added layer of protection against forced entry and natural disasters, giving you peace of mind.
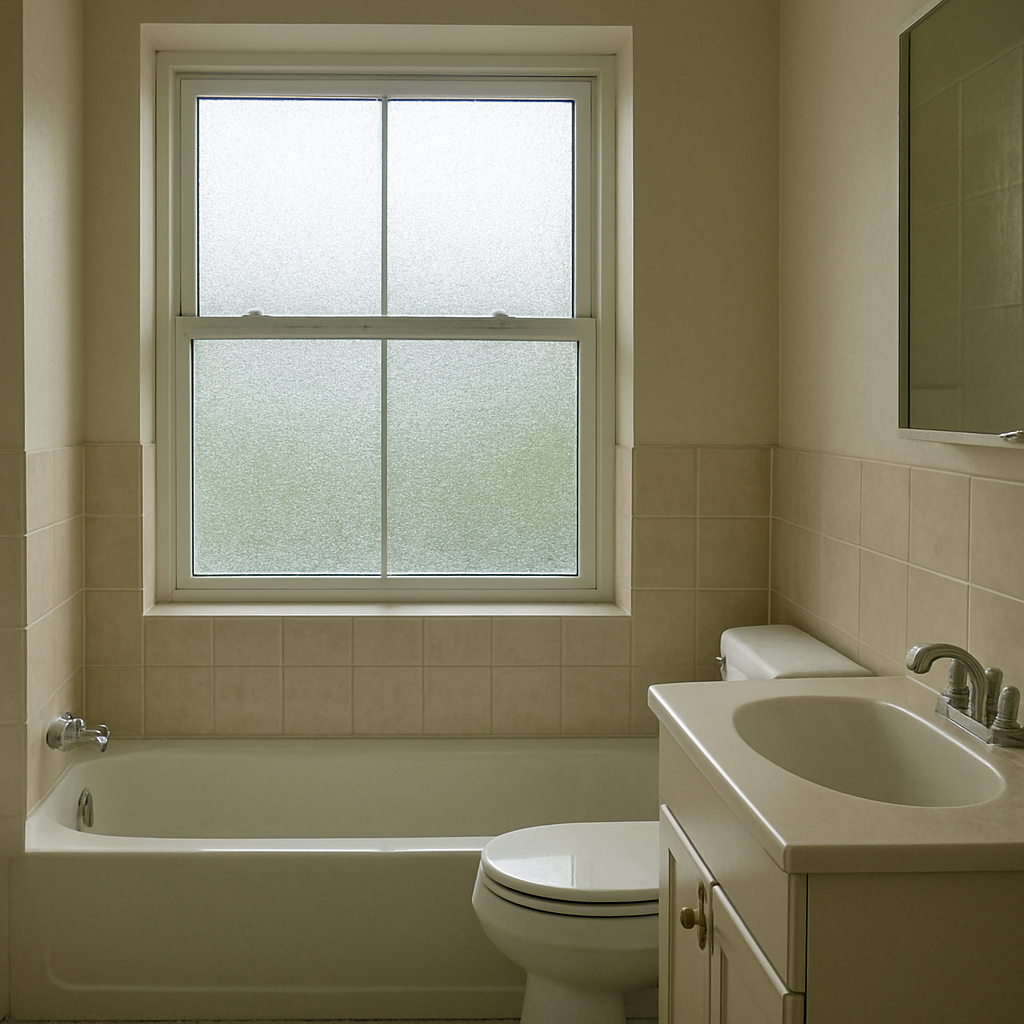
Privacy Film
Privacy film is often used in bathrooms, bedrooms, or other areas where you need more seclusion. It obscures the view from outside while still allowing light to filter in.
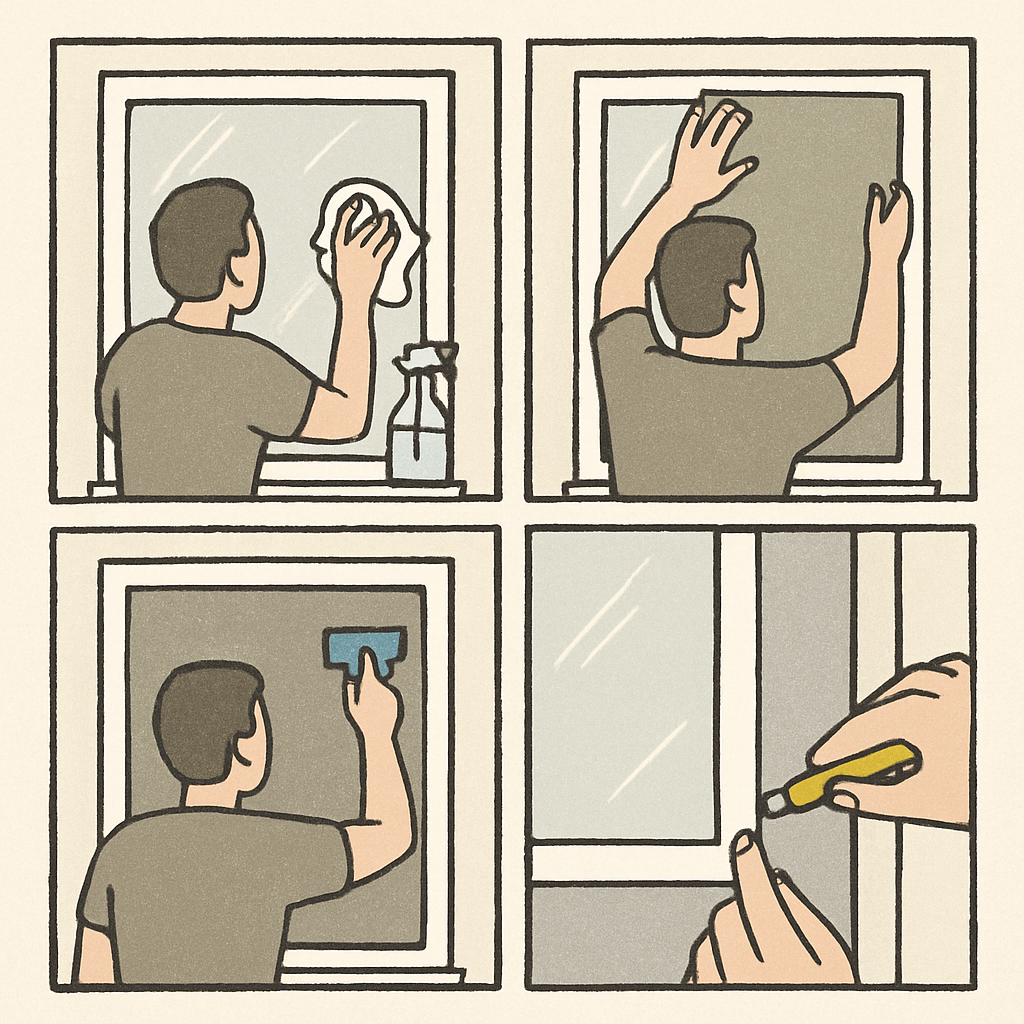
Finding Window Film Installation Near Me
When you’re ready to explore window film installation, finding a reputable service provider is essential. Here are some tips to guide your search:
Research and Recommendations
Start by researching local window tinting services and reading online reviews. Ask friends or family for recommendations if they’ve recently had window film installed.
Check Credentials
Ensure the installer is licensed and insured, and inquire about their experience and expertise in window film installation. A professional with a proven track record is more likely to deliver quality results.
Request a Consultation
Many window film companies offer free consultations. Take advantage of this opportunity to discuss your needs, view samples, and receive a quote. A consultation can help you understand the options available and make an informed decision.
Compare Quotes
Obtain quotes from multiple providers to compare pricing and services. Remember, the cheapest option isn’t always the best; consider the quality of materials and the installer’s reputation.
Conclusion
Window film installation offers numerous benefits, from energy savings and UV protection to enhanced privacy and aesthetics. By understanding when to consider this versatile solution, you can make a decision that improves your home’s comfort, efficiency, and style.
Whether you’re dealing with high energy bills, fading interiors, or privacy concerns, window film could be the answer you’ve been searching for. With the right window film and a skilled installer, you can transform your living space into a more enjoyable and functional environment. So, when the time comes, consider window film installation near you as a smart investment in your home’s future.