Categories
Window Films and Tints

How to Find Nearby Window Tinting Services You Can Trust

In the ever-evolving world of home improvement, finding reliable services can sometimes feel like an uphill task. When it comes to enhancing your living space with window tinting, trust and quality are non-negotiable. Window tinting not only elevates the aesthetic appeal of your home but also offers practical benefits such as increased energy efficiency and privacy. This guide will help you find trustworthy “nearby window tinting services” that meet your needs.

Before diving into how to find the right window tinting service, it’s important to understand the myriad benefits of window tinting can provide.

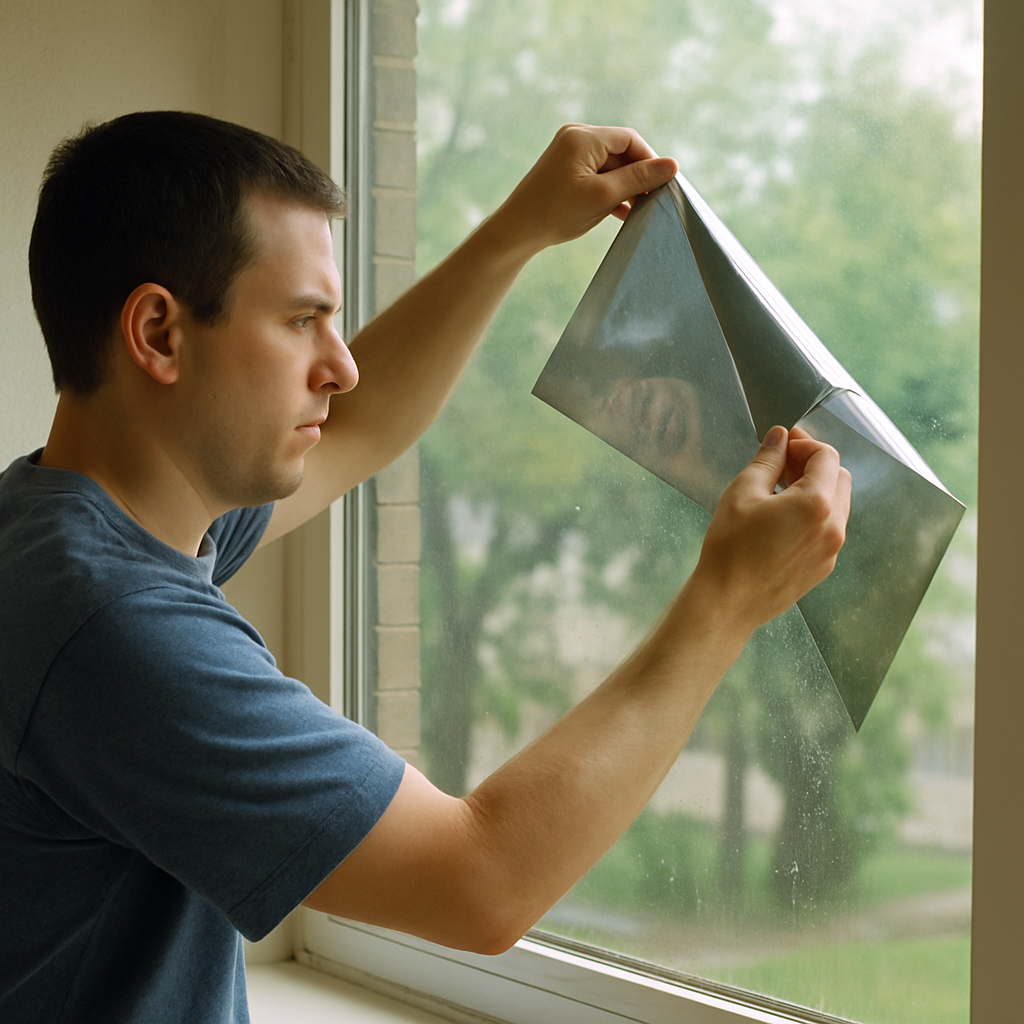
Window tinting can significantly improve the look of your home, providing a sleek and polished appearance. It offers a variety of styles and shades to match any interior design, making it a versatile choice for enhancing the aesthetic of any space.

One of the primary benefits of window tinting is its ability to reduce energy costs. By blocking out a significant amount of solar heat, tinted windows can help maintain a comfortable indoor temperature, reducing the need for air conditioning during the hot months. According to the U.S. Department of Energy, window films can significantly improve energy performance in residential buildings.

Window tinting adds an extra layer of privacy, preventing outsiders from seeing into your home without compromising your view of the outside world. Additionally, window film can hold shattered glass together in the event of a break, providing an added layer of security. The International Window Film Association (IWFA) outlines how professionally installed films enhance both safety and security standards.

Window tinting installation process

What to Look for in a Window Tinting Service

Choosing the right window tinting service is crucial to ensuring high-quality results. Here are some key factors to consider:

Experience and Expertise

Look for a service provider with a proven track record in window tinting. Experienced professionals are more likely to deliver quality results and provide valuable insights into the best options for your home.

Range of Services

A comprehensive service provider should offer a variety of tinting options, including both residential and commercial window tinting solutions. This versatility indicates a robust understanding of different client needs and preferences.

Quality of Materials

Ensure that the service provider uses high-quality window film materials. The longevity and effectiveness of your window tinting depend greatly on the quality of the film used.

High-quality window films

Finding Nearby Window Tinting Services

Now that you understand what to look for, let’s explore how to find these services in your area.

Online Searches

Start your search by looking for “window tinting near me” or “nearby window tinting services” online. This can provide you with a list of local service providers along with customer reviews and ratings. Pay attention to feedback about customer service, quality of work, and timeliness.

Ask for Recommendations

Word of mouth is a powerful tool. Ask friends, family, or neighbors for recommendations. Personal experiences can provide valuable insights into the reliability and quality of a service provider.

Visit Local Home Improvement Stores

Home improvement stores often have networks of trusted service providers. Visiting these stores can connect you with reputable window tinting professionals in your area.

Evaluating Potential Service Providers

Once you have a list of potential service providers, it’s time to evaluate them to find the best fit for your needs.

Check Credentials and Certifications

Ensure that the service provider is licensed and certified. This is an important indicator of professionalism and adherence to industry standards.

Request a Consultation

Many companies offer free consultations. Use this opportunity to discuss your needs, get a feel for their customer service, and ask any questions you may have about the process or materials.

Get Multiple Quotes

Obtaining quotes from multiple providers allows you to compare prices and services. Be wary of quotes that are significantly lower than others, as this may indicate subpar materials or workmanship.

Comparing window tinting quotes

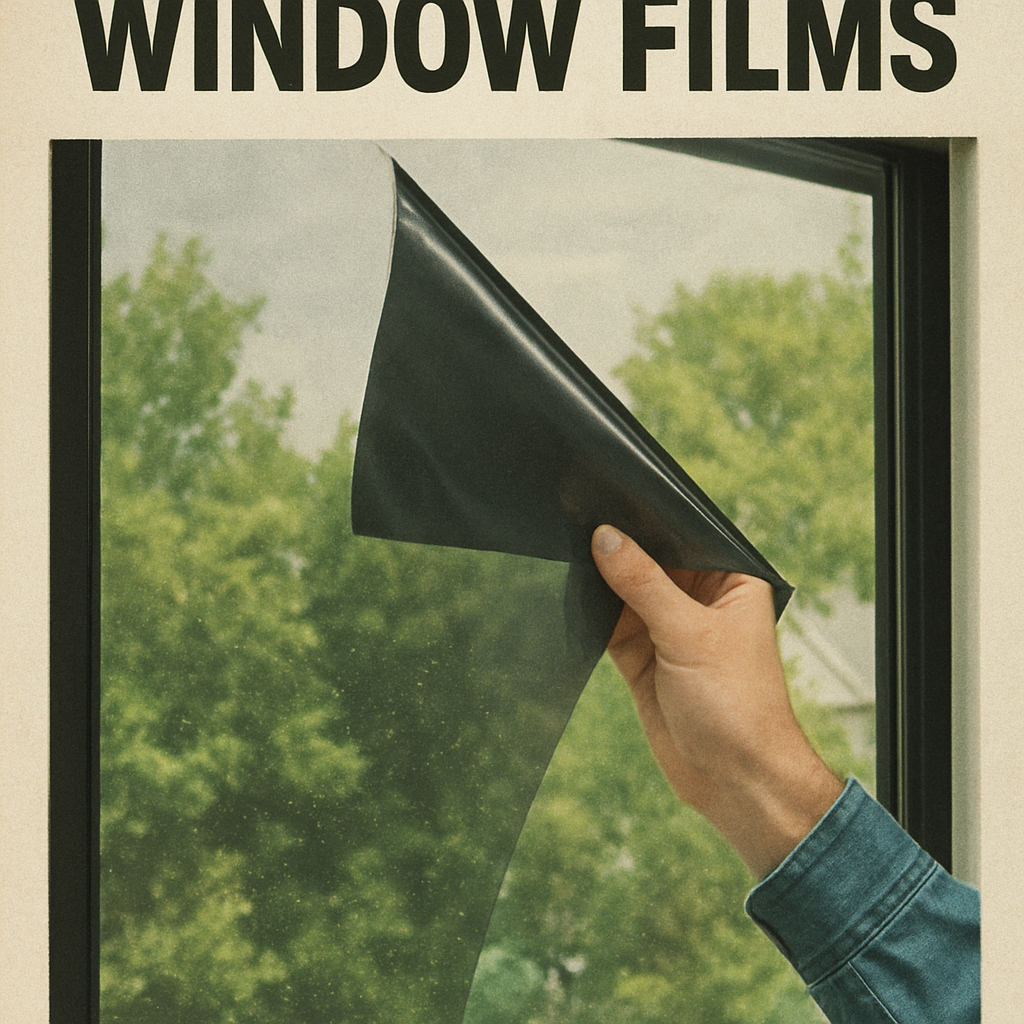
by Davis Patton (https://unsplash.com/@davispatton)

Making Your Decision

With all the information in hand, you’re ready to make an informed decision.

Consider the Value Offered

When comparing quotes, consider the value offered rather than just the price. A slightly higher cost may be justified by superior materials, better customer service, or longer warranties.

Review Customer Service

The quality of customer service can be as important as the tinting service itself. A provider that is responsive, respectful, and willing to address your concerns is invaluable.

Trust Your Instincts

Finally, trust your instincts. Choose a provider that makes you feel confident and comfortable with their services.

Conclusion

Finding reliable “nearby window tinting services” is a crucial step in ensuring your home improvement project is a success. By understanding the benefits of window tinting, knowing what to look for in a service provider, and carefully evaluating your options, you can enhance your home’s aesthetics, efficiency, and security with confidence. Remember, the right window tinting service will not only meet your immediate needs but will also add lasting value to your home.

Categories
Window Films and Tints

Removing Window Film Tools Timing and Safety Tips

In this guide, we’ll walk you through essential tools, timing considerations, and safety tips to make your window film removal guide project a success. By the end of this article, you’ll be well-prepared to tackle the task confidently, ensuring that your windows are ready for a new look or improved functionality.

Window with old film

Before diving into the tools and techniques, it’s important to understand why and when window film removal becomes necessary. Over time, window films can degrade due to prolonged exposure to sunlight, leading to discoloration, bubbling, or peeling. These signs indicate that it’s time to replace the film to maintain both the aesthetic and functional benefits of your windows. Additionally, as films age, they may also become less effective in blocking UV rays, which can lead to increased energy costs and potential damage to interior furnishings. According to the U.S. Environmental Protection Agency (EPA), improving window performance plays a role in overall energy efficiency strategies for homes and commercial buildings.

Common Reasons to Remove Window Film

  1. Aesthetic Updates: Interior design trends change, and so may your preference for window tint styles and colors. Keeping up with the latest styles can significantly enhance the look of a room, making it feel more modern and inviting. Also, changing films can allow for a better match with new furniture or paint colors, ensuring a cohesive design.
  2. Film Degradation: Exposure to UV rays can cause the film to deteriorate, reducing its effectiveness and appearance. Over time, this can lead to a film that not only looks unattractive but also fails to provide the benefits it once did, such as privacy or UV protection. It’s essential to monitor the condition of your window films and plan for replacements to maintain their benefits.
  3. Performance Issues: Old or damaged films may not provide the energy efficiency or privacy that they once did. As the film’s performance declines, you may notice increased glare, reduced privacy, or higher energy bills due to less effective insulation. Recognizing these signs early can help you address them before they become more significant problems.

By recognizing these signs early, you can plan for a timely replacement that aligns with your design goals and energy efficiency standards. This proactive approach ensures that your windows remain both functional and stylish, contributing positively to your home’s overall ambiance. The U.S. Department of Energy also highlights how proper window management contributes to long-term energy savings.

Essential Tools for Window Film Removal

Removing window film requires specific tools to ensure a clean and efficient job. Here’s what you’ll need to make the process as seamless as possible:

Tint Removal Kit

A tint removal kit is your go-to solution for a hassle-free experience. These kits typically include:

  • Utility Knife: For cutting and peeling off the film. A sharp blade is essential for clean cuts, preventing any tears that could complicate removal.
  • Spray Bottle: To apply soapy water or a window cleaner that helps loosen the adhesive. This step is crucial in ensuring that the film peels away without leaving residue.
  • Squeegee: To smooth out and remove film and adhesive residue. A quality squeegee can help achieve a streak-free finish, making the final cleaning process easier.
  • Scraper Blade: For scraping off stubborn adhesive. It’s important to use a scraper designed for glass to prevent scratches.

Additional Window Tint Tools

While a tint removal kit covers the basics, consider having these extra tools on hand for an even smoother experience:

  • Heat Gun or Hair Dryer: Applying heat can soften the adhesive, making it easier to peel off the film. The gentle heat ensures that the adhesive remains pliable, reducing the risk of tearing the film.
  • Microfiber Cloth: Useful for cleaning the window surface post-removal. Microfiber is ideal for catching dust and grime without scratching the glass surface, ensuring a pristine finish.

Protective Gear

Safety should always be a priority. Equip yourself with:

  • Gloves: Protect your hands from cuts and cleaning solutions. Durable gloves can also provide better grip when handling tools and film.
  • Safety Glasses: Shield your eyes from stray pieces and cleaning chemicals. Ensuring eye protection is crucial, as even small film particles or splashes of cleaning solution can cause irritation.

Timing Your Window Film Removal

Person removing window film

Timing can significantly affect the ease and outcome of your window film removal project. Proper timing ensures that you make the most of environmental conditions, which can aid in the removal process.

Weather Conditions

Removing window film is best done on a sunny day. The heat from the sun can naturally soften the adhesive, making the removal process smoother. The sun’s warmth can also help evaporate any moisture that might interfere with the adhesive’s loosening. Avoid rainy or excessively cold days as moisture and cold can complicate the task, causing the adhesive to harden or become more difficult to manage.

Time of Day

Plan your removal for late morning or early afternoon when temperatures are warmer. This timing ensures that the sun has had time to heat the film and window surface. The natural warmth will complement the tools you’re using, making the entire process more efficient. Additionally, working during daylight hours provides better visibility, reducing the risk of leaving adhesive behind.

Project Duration

Allocate enough time for the task. Depending on the size and number of windows, the process can take a few hours. Rushing can lead to incomplete removal or damage to the window surface. It’s advisable to set aside more time than you think you’ll need, allowing for any unexpected challenges that may arise.

Step-by-Step Window Film Removal Process

Here’s a straightforward guide to removing window film. Following these steps will help ensure a successful and hassle-free removal:

Step 1: Prepare the Area

Clear the window area of any furniture or decor items. Lay down a drop cloth to catch debris and make cleanup easier. Preparing the area in advance also prevents any accidental damage to your belongings, keeping your workspace organized and efficient.

Step 2: Loosen the Film

Spray the window film with a generous amount of soapy water or window cleaner. Allow it to soak for a few minutes to loosen the adhesive. This step is crucial as it reduces the risk of tearing the film during removal, ensuring a smoother peel-off process.

Step 3: Apply Heat

Use a heat gun or hair dryer to warm the film, starting at a corner. This will further soften the adhesive and make peeling easier. Applying consistent heat helps prevent the film from becoming brittle, reducing the chances of it breaking into smaller pieces.

Step 4: Peel the Film

Carefully use a utility knife to lift a corner of the film. Slowly peel it away from the glass, applying more heat as needed. Taking your time with this step ensures that you remove the film in large sections, minimizing leftover adhesive.

Step 5: Remove Residual Adhesive

Use a scraper blade to remove any remaining adhesive. Keep the surface wet with soapy water to prevent scratches. Working carefully and methodically will ensure that you don’t damage the glass during this step.

Step 6: Clean the Glass

Once the film and adhesive are removed, clean the glass thoroughly with a microfiber cloth and window cleaner to ensure a spotless finish. This final step not only enhances the appearance of your windows but also prepares them for any new films you may wish to apply.

Safety Tips for Removing Window Film

Safety equipment for window film removal

by K Adams (https://unsplash.com/@kadams77)

  1. Work in a Well-Ventilated Area: Ensure proper ventilation to avoid inhaling fumes from cleaning solutions or adhesive residue. Adequate airflow can also help in quickly dissipating any odors associated with the cleaning agents used.
  2. Use Caution with Blades: Always cut away from your body and keep fingers clear of the blade path. Ensuring safe handling of sharp tools prevents accidents and injuries.
  3. Handle Heat with Care: Be cautious when using a heat gun to avoid burns. Keep it moving to prevent overheating any area. Proper handling of heat tools not only protects you but also prevents damage to the window glass.
  4. Dispose of Waste Responsibly: Collect film and adhesive waste and dispose of them according to local regulations. Responsible disposal protects the environment and ensures compliance with waste management laws.

Conclusion

Removing window film doesn’t have to be a challenging task. With the right tools, timing, and safety measures, you can efficiently update your windows, enhancing both the appearance and functionality of your space. A well-executed removal process paves the way for new installations that meet your design and efficiency needs.

For interior designers, understanding the removal process helps in providing clients with fresh, energy-efficient, and stylish window solutions that complement their overall design vision. By following this guide, you can ensure a smooth, safe, and successful window film removal experience, paving the way for new installations that meet your design and efficiency needs. Embrace the opportunity to refresh your space, confident in the knowledge that your efforts will result in a stylish and functional window solution.

Categories
Window Films and Tints

Proper Ways to Clean Your Window Films Without Damage

Properly maintaining your window films ensures they remain in pristine condition, enhancing both the aesthetics and efficiency of your living spaces. Whether you’re an interior designer looking to keep your installations looking fresh or a homeowner seeking to preserve your investment, understanding the right cleaning techniques is crucial. In this article, we’ll explore the best practices to clean window films without causing damage.

Close-up of window film installation

Window films are versatile, offering benefits like UV protection, privacy, and energy efficiency. However, improper cleaning can lead to scratches, discoloration, or peeling. Therefore, knowing what your window film can withstand will help you clean it effectively.

Types of Window Films

Before diving into the cleaning techniques, it’s important to understand the types of window films you might encounter:

  1. Dyed Films: These provide privacy and reduce glare but can fade over time.
  2. Metalized Films: Known for their reflective properties, they offer excellent heat rejection.
  3. Ceramic Films: These are non-reflective and provide high clarity, making them a favorite for those seeking both aesthetics and performance.

Essential Cleaning Supplies

To clean your window films properly, you’ll need the right tools. Here’s what you should gather:

  • A soft microfiber cloth or sponge
  • Mild, ammonia-free cleaning solution
  • A spray bottle
  • Squeegee with a soft edge
  • Distilled water (if your tap water is hard)

Why Avoid Ammonia?

Ammonia-based cleaners can damage the film by causing discoloration or peeling. It’s best to use a cleaner specifically labeled for window films or simply mix a mild dish soap with water.

Step-by-Step Cleaning Process

Cleaning tools for window films

Following a systematic approach will ensure you clean your window films effectively without causing damage. Here’s a step-by-step guide:

Step 1: Dust the Surface

Begin by gently dusting the window film surface with a dry microfiber cloth to remove loose dirt and debris. This prevents scratching during the wet cleaning process.

Step 2: Prepare the Cleaning Solution

Mix a few drops of mild dish soap with distilled water in a spray bottle. Ensure the solution is well combined.

Step 3: Apply the Solution

Spray the cleaning solution onto the window film. Avoid soaking the film; a light mist is sufficient.

Step 4: Wipe with Care

Using a soft microfiber cloth or sponge, gently wipe the surface in a vertical motion. This helps avoid streaks and ensures even cleaning.

Step 5: Squeegee Excess Liquid

Use a soft-edged squeegee to remove excess liquid from the film surface. Start at the top and work your way down, wiping the squeegee blade with a clean cloth after each pass.

Step 6: Final Buff

Finish by lightly buffing the film with a dry microfiber cloth to remove any remaining moisture and prevent streaks.

Maintenance Tips for Longevity

Sparkling clean window film

by Derek Lee (https://unsplash.com/@derekleej)

Regular maintenance not only keeps your window films looking great but also extends their life. Here are some tips to help:

  • Regular Dusting: Dust the films regularly to prevent buildup that can scratch the surface.
  • Avoid Abrasive Materials: Steer clear of abrasive sponges or cloths that can scratch the film.
  • Use Soft Water: If your tap water is hard, use distilled water to prevent mineral deposits.

Troubleshooting Common Issues

Despite your best efforts, you might encounter some common issues with window films. Here’s how to address them:

Streaks and Smudges

If streaks persist after cleaning, ensure you’re using a clean, dry cloth for buffing. Also, check that your cleaning solution is well-balanced and free of excess soap.

Peeling Edges

Peeling may occur if the film is exposed to excessive moisture. Ensure windows are properly sealed and avoid over-saturating the film during cleaning.

Fading or Discoloration

Fading is more common with dyed films. To minimize this, use window coverings or blinds to reduce sun exposure when not needed.

Conclusion

Cleaning your window films correctly is essential to maintain their appearance and effectiveness. By using the right tools and techniques, you can ensure your window films remain a stylish and functional part of your interior design.

Proper maintenance not only enhances the longevity of your window films but also ensures they continue to provide the benefits you rely on. Whether you’re an interior designer or a homeowner, these cleaning strategies will keep your window films looking as good as new.

Categories
Window Films and Tints

Residential Window Films vs Commercial Window Films: Which One Works Best for Your Space?

Window films are one of the most searched upgrades for homes and businesses in Toronto and the GTA. People search for window films because rooms feel too hot, glare hits screens all day, privacy feels weak, or energy bills keep going up. Others look into window films because windows feel unsafe or furniture keeps fading.

But once people start reading, confusion kicks in fast.

Residential window films. Commercial window films.

The names sound close. The use is not.

Both are window films. Both stick to glass. Both help with heat, glare, and UV. But they are built for different spaces, different problems, and different expectations.

If you live or work in Toronto or the GTA, this guide explains window films in plain words. No fluff. No hype. Just real info from jobs done across condos, homes, shops, and offices.

Why People in Toronto Search for Window Films

Most people do not search for window films because they love glass. They search because something feels off.

Condos near the lake heat up before noon. Older homes in East York feel drafty in winter. Offices downtown get screen glare every afternoon. Retail shops worry about break-ins after dark.

Window films show up as a solution. And most times, they help.

The problem starts when the wrong type of window film gets picked.

Residential Window Films Explained Simply

Residential window films are made for places where people live. Houses. Condos. Townhomes. Basement suites. Bedrooms. Living rooms. Kitchens.

In the GTA, residential window films are common in south-facing condos downtown, semi-detached homes in North York, townhomes in Vaughan, and older houses with big front windows.

People usually reach out after one of these issues shows up:

  • One room feels way hotter than the rest
  • Glare hits the TV or phone every afternoon
  • Neighbours can see inside at night
  • Floors or couches fade near windows
  • Hydro bills keep climbing

Residential window films help fix these problems without changing how the home looks.

What Residential Window Films Are Made For

Residential window films focus on comfort first.

  • They reduce heat before it enters the glass
  • They cut glare without dark rooms
  • They block UV that fades furniture
  • They add daytime privacy
  • They help rooms feel more even all year

Most residential window films are thinner than commercial films. That matters because home glass reacts more to heat and cold, especially during Toronto winters.

The goal is simple. The room feels better. The window still looks normal.

How Residential Window Films Look Inside a Home

This part matters more than people expect.

Most homeowners want light, not dark windows. Residential window films are designed to blend in.

  • Clear or near-clear heat control films
  • Light neutral tints
  • Frosted films for bathrooms and doors
  • Soft reflective films for daytime privacy

At night, reflective films lose privacy when lights turn on. Frosted films keep privacy all the time. This detail gets missed a lot.

Local Example: Downtown Toronto Condo

A couple living in a south-facing condo near Harbourfront called after their living room hit 29 degrees by early afternoon. Curtains helped a bit, but the room felt closed in.

A clear residential window film was installed. The room cooled down by several degrees on sunny days. The view stayed clear. Glare dropped enough to watch TV again. No dark look. No condo board issues.

This is where residential window films work well.

Installing Residential Window Films in the GTA

Toronto homes use many types of glass. Old single-pane windows. New double and triple-pane units. Bay windows. Sliding doors.

A professional window film installer checks:

  • Glass type
  • Window age
  • Seal condition
  • Sun exposure

The wrong film on the wrong glass can cause stress cracks. This happens more in winter when temps swing fast. That is why residential window films should be installed by someone who works with GTA homes.

Commercial Window Films Explained Simply

Commercial window films are made for work spaces. Offices. Retail stores. Clinics. Schools. Condo common areas.

In Toronto and the GTA, commercial window films are common in downtown office towers, street-level shops, medical buildings, and business parks.

The problems are bigger and more spread out.

What Commercial Window Films Are Made For

Commercial window films focus on performance and durability.

  • They control heat across large glass areas
  • They reduce glare on screens
  • They help staff feel more comfortable
  • They add privacy to offices and clinics
  • They slow break-ins with security film

Many commercial window films are thicker than residential films. Security films are designed to hold broken glass together after impact.

Office Comfort and Daily Work

This comes up on almost every office job.

Some desks feel freezing. Others feel hot. Windows cause uneven temps.

Commercial window films reduce solar heat gain across the space. That helps balance temperatures and reduce screen glare. Complaints drop fast.

Retail Example: Queen Street Shop

A retail shop near Queen Street dealt with two break-ins in one year. After installing clear security window film, another attempt cracked the glass but did not allow entry.

The damage was lower. Downtime was shorter. Insurance issues slowed down.

This is where commercial window films matter.

Installing Commercial Window Films

Commercial window film installs need planning.

  • Large glass surfaces
  • Lifts or scaffolding
  • After-hours work
  • Building approval

This is not DIY work. A poor install can peel, bubble, or fail inspections.

Residential Window Films vs Commercial Window Films

Residential window films focus on comfort, privacy, and appearance in living spaces.

Commercial window films focus on performance, safety, and durability in work spaces.

Both are window films. They solve different problems.

Which Window Films Should You Choose?

If people live in the space, relax there, and sleep there, residential window films usually fit best.

If people work there, shop there, or visit daily, commercial window films usually make more sense.

Condos sit in the middle. Units use residential window films. Lobbies and gyms often use commercial window films.

Seasonal Issues in Toronto That Matter

Toronto summers bring strong sun through south and west windows. Winters bring cold glass and drafts. UV hits year round, even on cloudy days.

Window films help with heat, glare, and fading when the right type is used.

Cost Questions People Ask About Window Films

Many people ask if window films cost less than new windows. In most cases, they do.

Window films install faster, cost less, and avoid construction mess. They do not fix broken frames, but they help with comfort and energy use.

Why Local Experience Still Matters

Toronto buildings vary a lot. Old homes. New towers. Heritage rules. Condo boards.

Installers with local experience know what window films work in GTA weather and which films last.

Final Thoughts

Window films are not one-size-fits-all.

Residential window films and commercial window films both work when used in the right place. Choosing the wrong one causes problems later.

If you want clear advice on window films for your home or business, speak with a local team that installs window films across Toronto and the GTA.

To learn more or get real answers before deciding, visit https://tintly.ca/.